In addition to the multitude of art mediums I do, one thing I never get tired of is working with clay. Especially in a studio, hand-sculpting pottery pieces. I started working with clay and learning the craft of making pottery a little over a year ago. Pottery is not a craft for those who don’t have a great deal of patience. When creating pottery, keep in mind that the process is long and tedious in specific steps. You also need to be somewhat physically able to stand and use your arms and shoulders with ease. I do not have my own pottery studio; I created these pieces at State Fair Community College in Sedalia, MO, but there are a few local Kansas City studios.
In one of my very first projects, I began crafting a three-foot-tall vase. It sits in my living room now, and everyone that comes to visit us always comments on it. This vase took around nine weeks to complete. For this project, I used a series of clay ropes. Clay ropes are used by potters when they roll out the clay to form long, rope-like strands of clay to mold and form together. Coiling pottery can be slow but well worth the effort. The clay best suited for coiling will have some grog mixed in it. Grog is a pottery term used to describe clay, including sand, tiny bits of seashells, or small fine rocks. This is to help prevent cracking, add texture, and reduce shrinkage, but it also aids in making the clay more workable for the process.
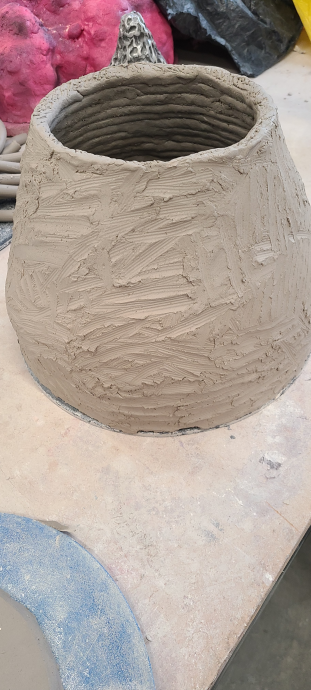
The first step is to create a series of clay coils and begin assembling them. I was taught to be as wide as possible in starting my circle for the vase. The reason is to provide support as I begin to bring the coils to a central connecting point. So, I started at the circumference of the potter’s bat edge. A “potter’s bat” is the circular disc often seen attached to a potter’s wheel. These were used as trays to hold our pots for the duration of the nine weeks of the project. I then began to slip and score the top edges of the coils with the teeth from a fork to connect the layers of clay ropes. Slip is another term used to describe heavily diluted clay in water. It is primarily water but tends to have a small amount of clay mixed in. Once I formed the vase bottom into about the shape of a beehive, I let it sit for two days under thick plastic, allowing it to firm up some to support the next steps. Coiling pottery is done in stages so it will not cave in and fall in on itself.

The next step was to smooth out the outer sides. I used a wooden modeling tool to smooth the edges and connect any seams between the coils. The next step was to create a flat slab piece to connect to the top of my now smoothed-out beehive-looking shaped clay. I placed it on the top of my pot and used a sharp knife to cut it around it to connect it to the coiled base. I used the slip and score technique to seal the pot shut with the clay slab. The pot sat for another two days under the plastic.
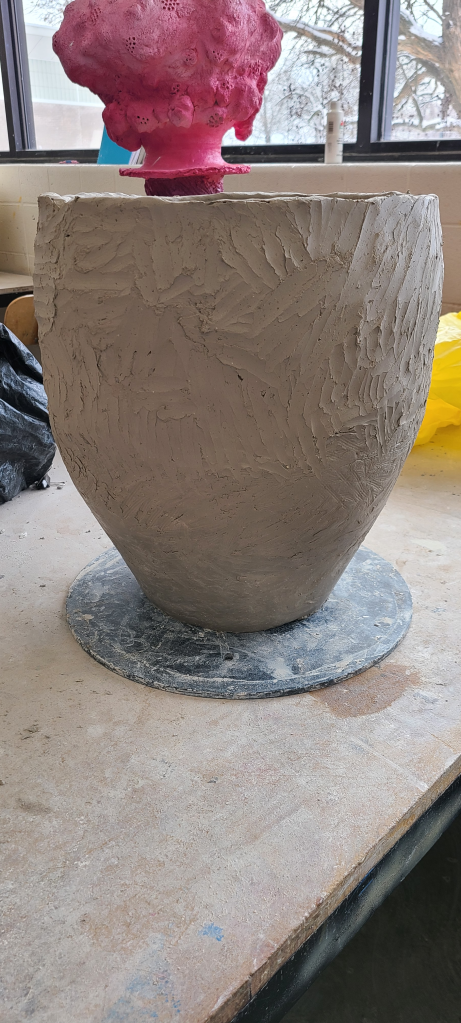
The next step took some extra hands as we flipped the pot over, allowing it to set on the clay slab bottom. I began coiling from what was left at the bottom, connected to the potter’s bat. From this stage, the coiling is done using the slip and score technique, and with every few layers of the coil, I would smooth the exterior and interior of the pot, so the vase begins to take on the desired shape. I would gradually place the coils further out on the rim of the previous coil to make the pot wider and gradually place the coils more inward on the previous coil to make the pot narrower as I constructed its shape.
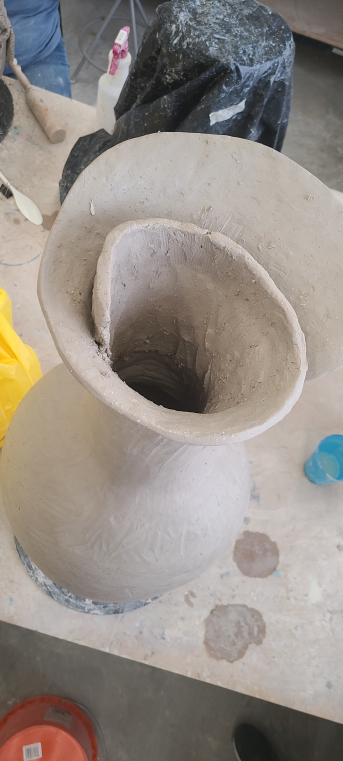
Once I was happy with the body’s bottom section, I began closing the coils, moving them inward with each layer. I continued to smooth the inside and outside of the vase the entire time I was constructing it. I formed a fluted-looking top for my vase, and for the lip section, I formed another slap to attach to the top piece and used a slip and score heavily here so that it would mold and connect without the risk of cracking and breaking off during the firing process. I coiled this layer around the top base of the vase while gently forming it to appear like a flower opening from its center. It looked like a single flower petal unwinding from the inside. I used a small and soft-ended mallet once it had sat for a few more days to tap along the neck and sides of the vase to give it the shape I wanted and smooth the exterior. I also used a clay shredder, which looks like a kitchen grader tool, to further shape the vase.
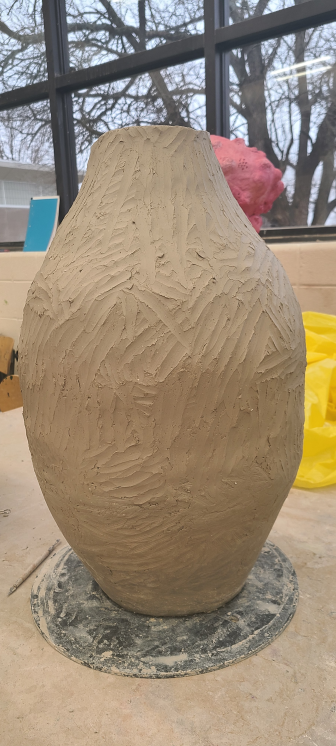
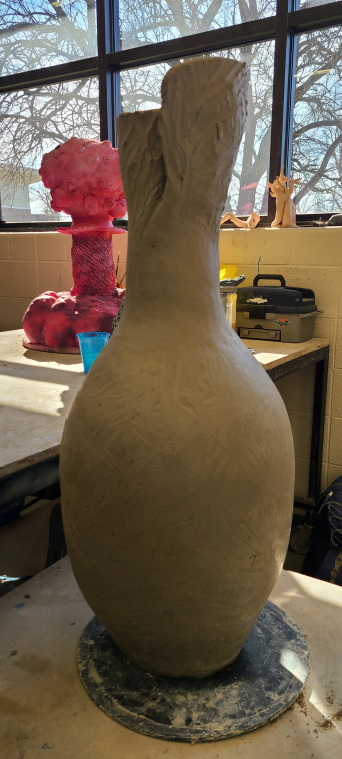
Once I was satisfied with the shape, I let it sit for over two weeks. I sat it under plastic for around two or three days and gradually left the plastic open at the base. After those first few days, I removed the plastic to allow the vase to air dry completely.
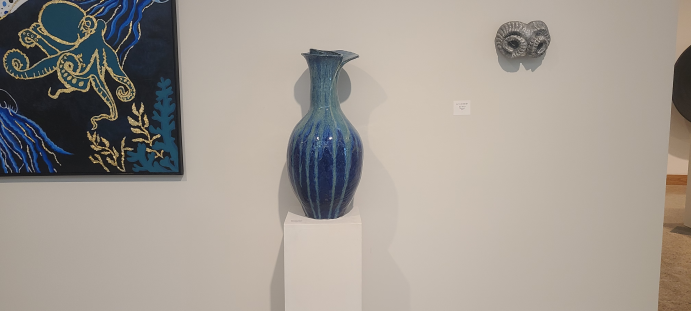
Next, it was time to choose the glaze colors. I ended up going against my professor’s choice and using the colors Indigo Float for the entire base, and I used a drizzling mop technique on the top lip and rim of the vase in Lustrous Jade. Both glazes are from the Amaco Potter’s Choice glaze. My professor did not think the colors would blend well layered over one another; he feared it would turn an off-color that I would not want. I had not seen the color combination anywhere. Even when I Googled the colors, it would show them in combination with other colors but not together. So, it was a happy surprise for us both when it came out in a stunning blue and vivid green drizzle.
These are the links to the glazes I used. You can find them on Amazon here:
Amaco Potter’s Choice Indigo Float: https://amzn.to/44pWl2A
Amaco Potter’s Choice Lustrious Jade: https://amzn.to/3OTej7Y

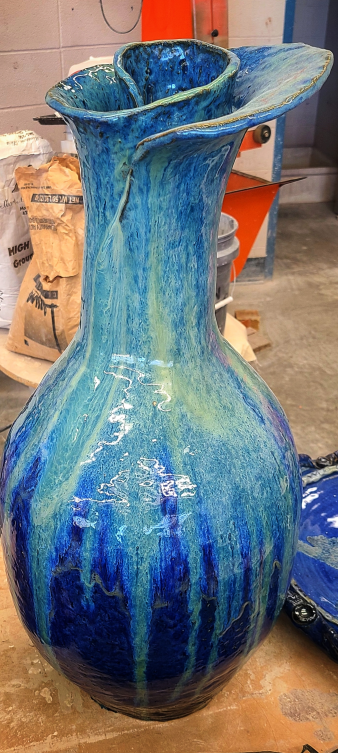
It was a long and tedious process, but the result was terrific. It sat for an entire month in the center of the art exhibit inside the Daum Museum of Contemporary Art before I could take it home. I was thrilled to see it won in the art show too.
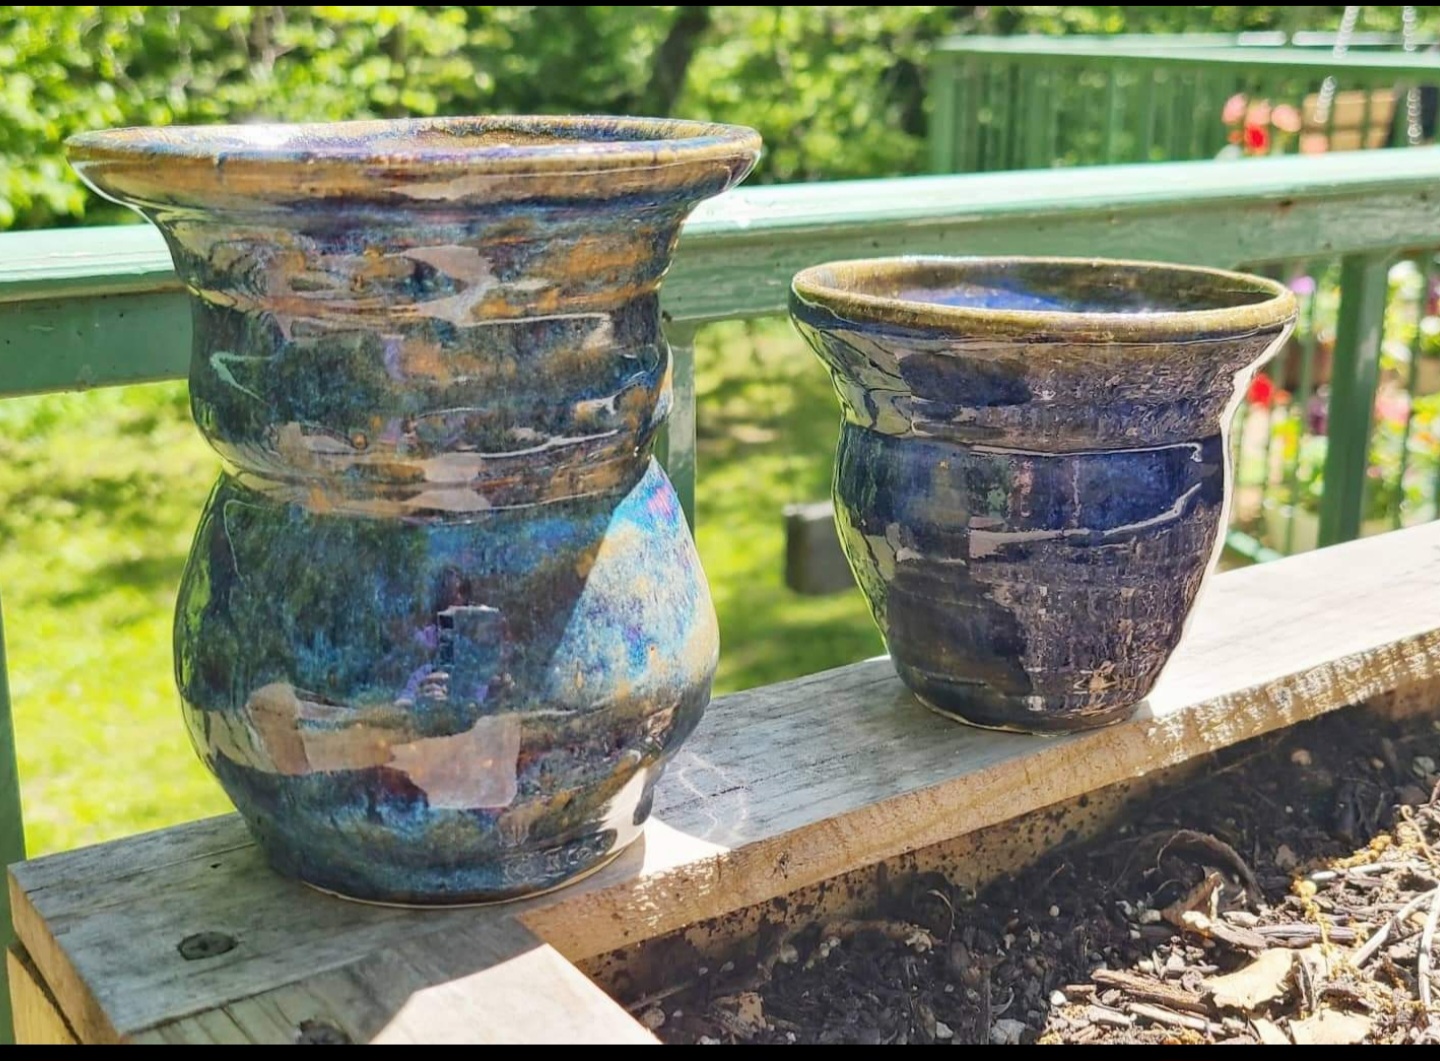
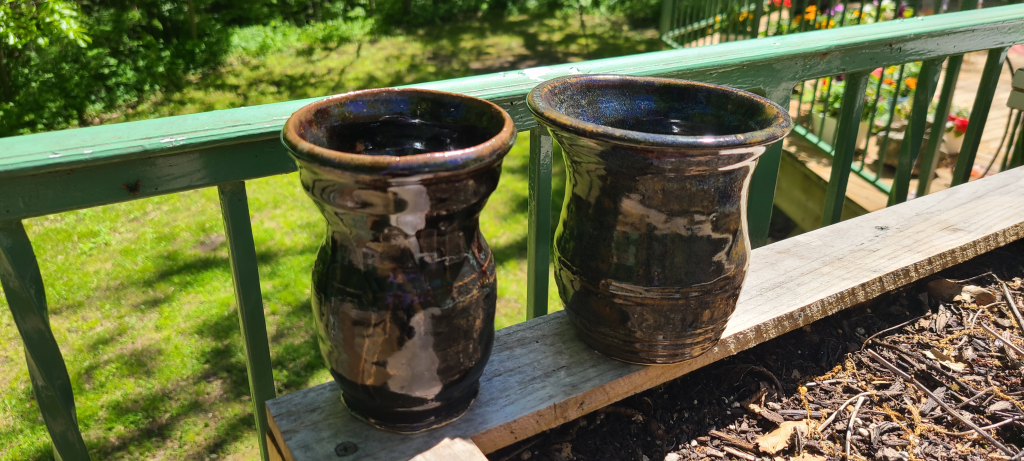
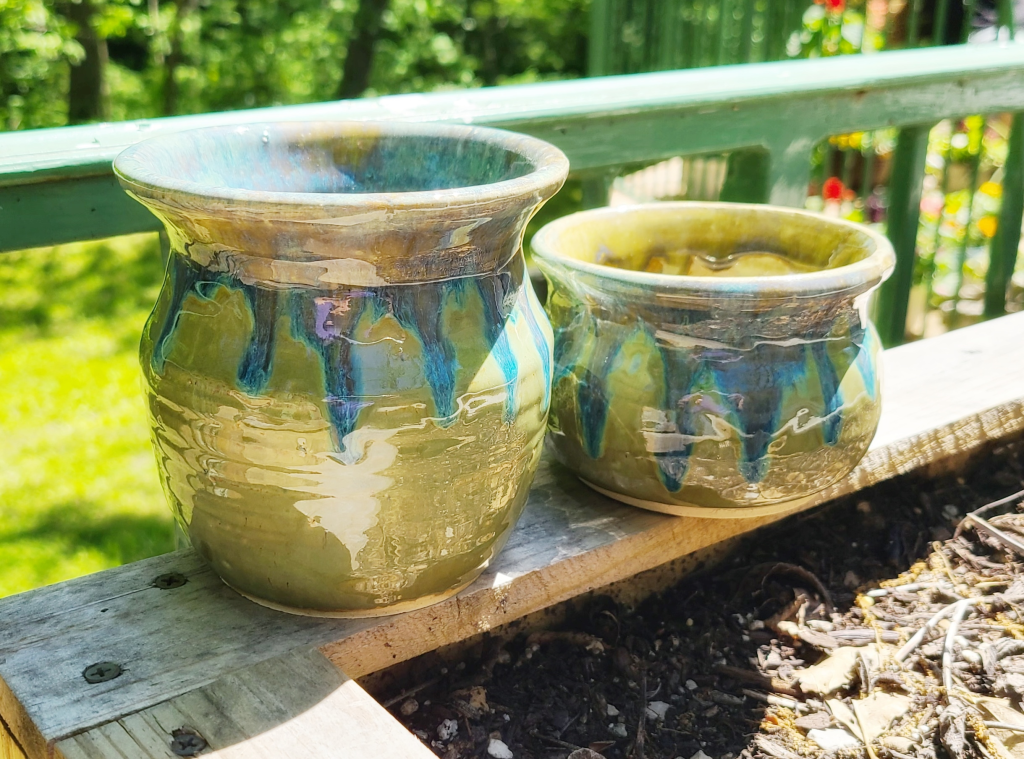
Below are some pictures of pieces that I have around my home that I learned on the potter’s wheel.
Here are all the links to the glaze colors below:
Amaco Potter’s Choice Oatmeal: https://amzn.to/45EDh1J
Amaco Potter’s Choice Iron Lustre: https://amzn.to/3YNfpa2
Amaco Potter’s Choice River Rock: https://amzn.to/3ORduMR
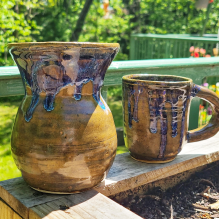
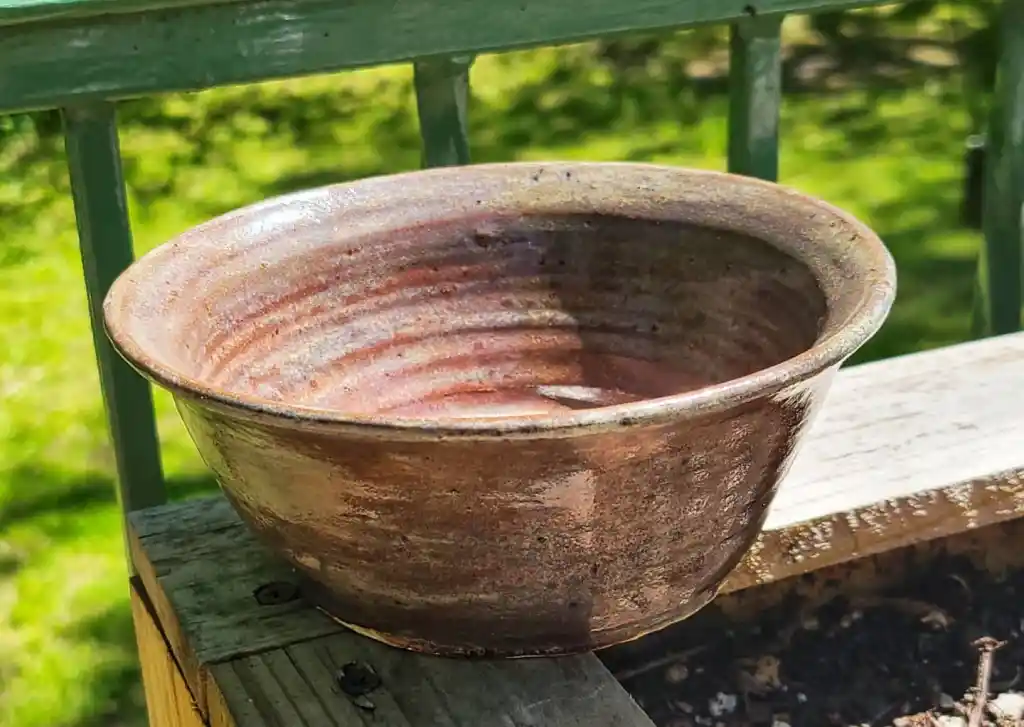

The professor fired the center pot too low, so only the top glaze fired correctly. However, he and I liked the surprise it gave to the bowl, and we decided to keep it this way.